How to take a passport photo with your mobile phone
Any phone made in the last few years has a sensor sharper than the cameras most photo studios used a decade ago. The trick is camera settings and framing, not megapixels.
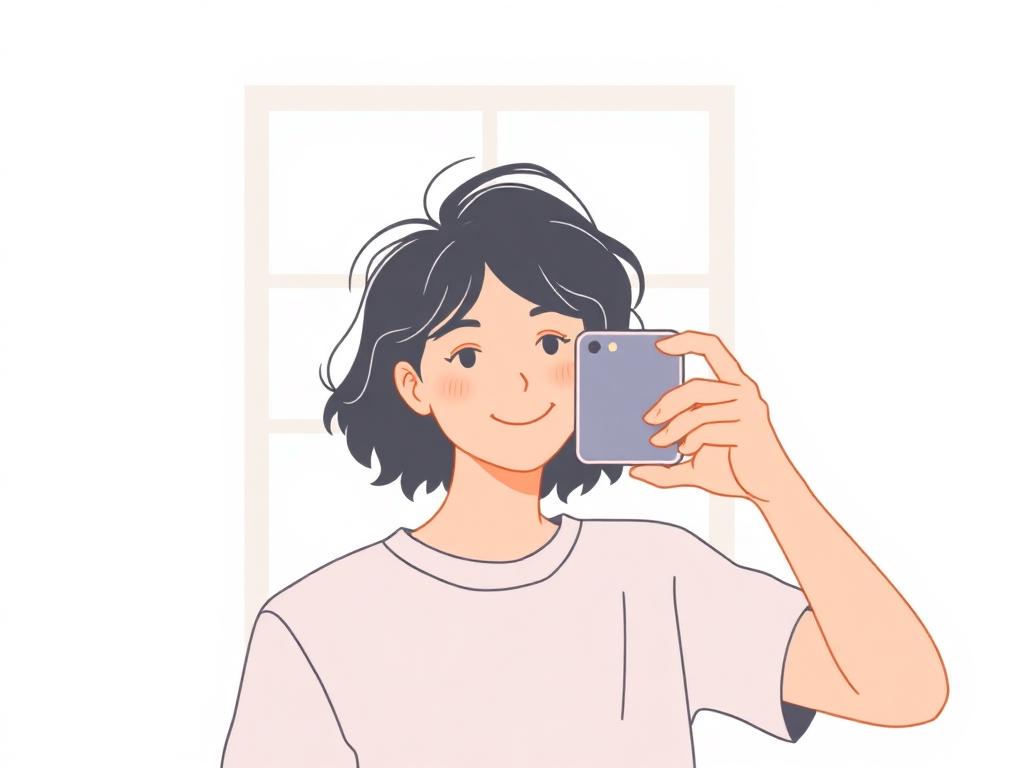
Use the rear camera, never the selfie camera
Front cameras have a wider lens that exaggerates the nose and shrinks the ears. Even when the photo looks fine, biometric checks often reject it. Hand the phone to someone else and use the main rear camera.
Quick camera-app checklist
- Turn off beauty / face-smoothing filters
- Turn off HDR if it produces unrealistic skin tones
- Disable flash — use natural light instead
- Shoot at 1× zoom; never use digital zoom
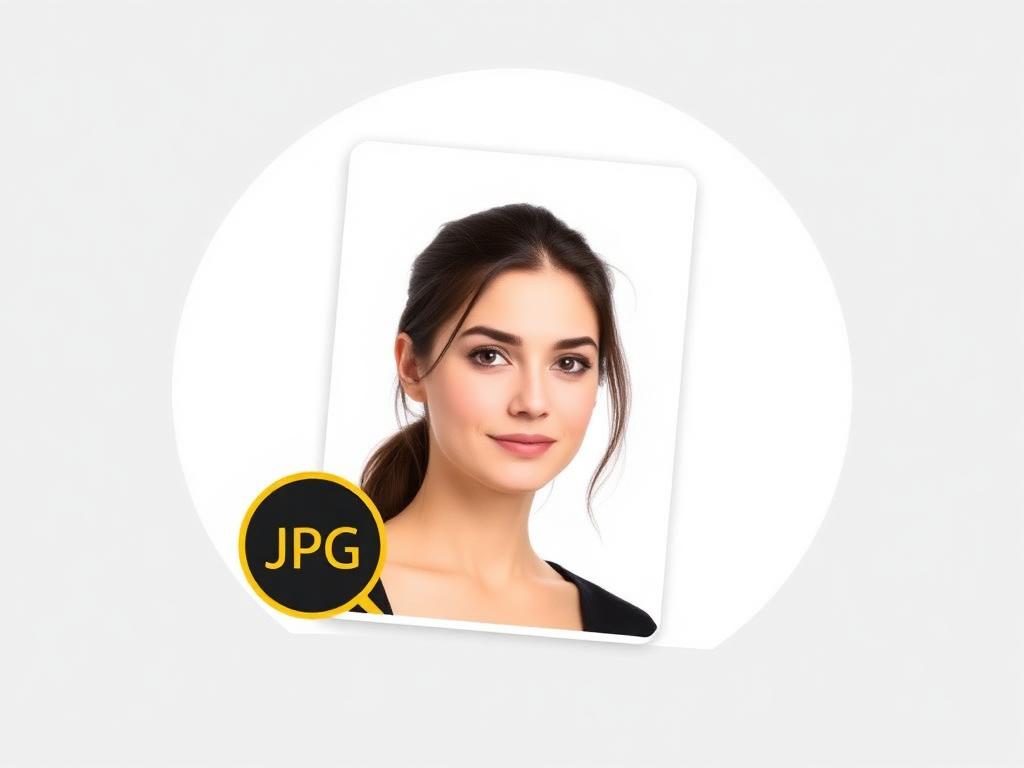
- Set the highest available resolution and JPEG quality
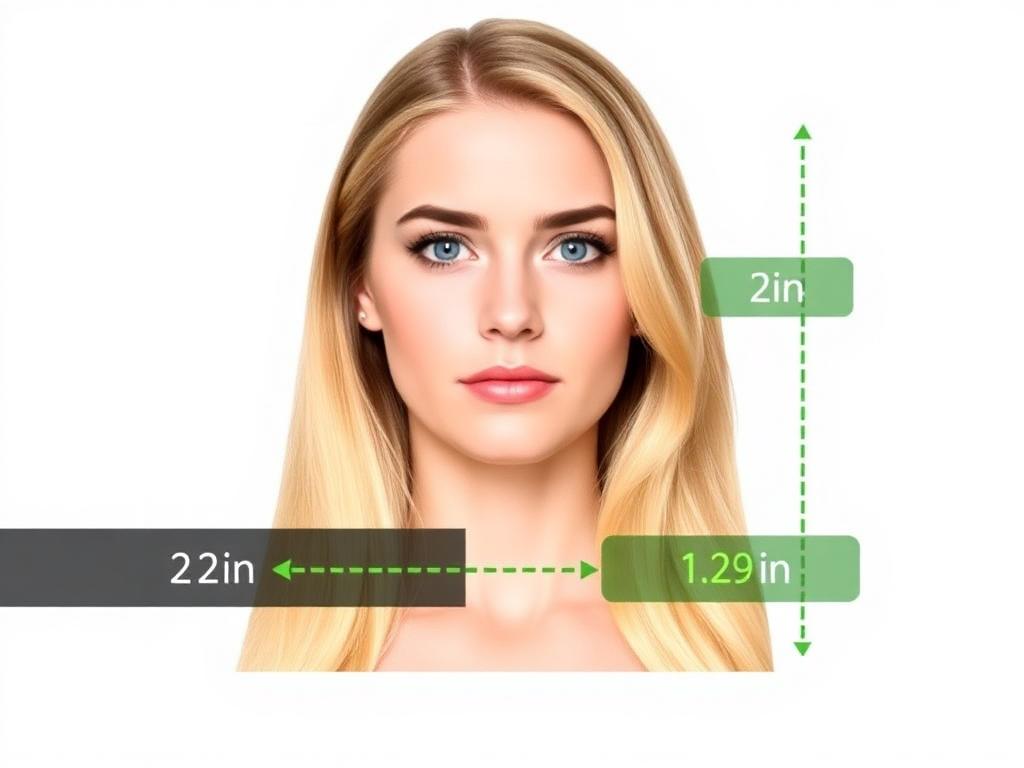
Distance and framing
The photographer should stand 1.2–1.5 m (4–5 ft) away, with the lens at the subject's eye level. Frame loosely so the auto-crop step has room to work — leave a fist of space above the head.
Lighting
Soft window light from the front is ideal. Avoid mixed lighting (sunlight + ceiling bulb) which produces a color cast. If shadows appear under the eyes or chin, move closer to the window or add a second light source from the same side.
Background
Stand 50 cm (20 in) from a plain, light wall. If you don't have one, our checker can automatically replace the background — but the cleaner the original, the better the result.
Verify, crop and download
Open our site directly in your phone browser and upload the photo. The AI handles cropping to the correct country-specific size, background cleanup and biometric checks. A human expert reviews it before you receive the final file.
Submit it digitally
For online passport applications, save the verified file to your phone and upload it straight to the application portal. For in-person applications, use the print-ready 4×6 in sheet at any drugstore photo kiosk.
Ready to create your photo?
AI-checked, expert-verified, with a 200% acceptance guarantee.