
Passport Photo Size: How to Make a Passport-Size Photo Online
A five-step guide to making a compliant passport-size photo online.
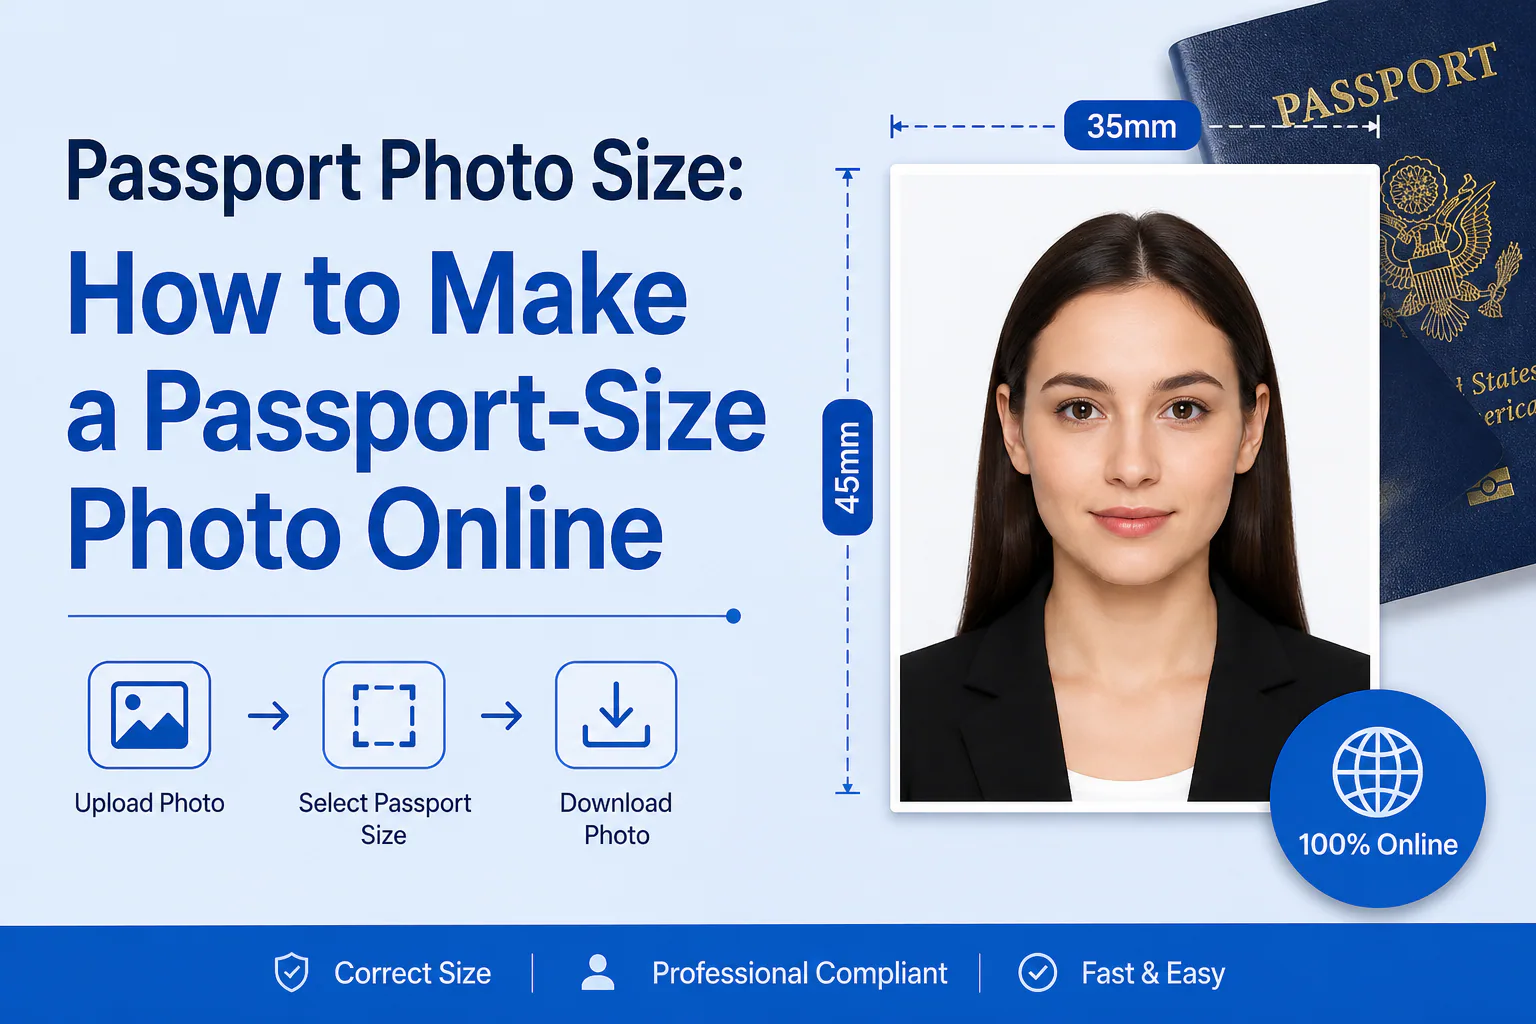
Passport Photo Size: How to Make a Passport-Size Photo Online
If you prefer to prepare the file online, the US passport photo maker can help check the crop, background, and passport-photo format before submission.
Most guides to this stop at "upload a photo, we'll crop it." That's step three of five. Here's the whole workflow.
Quick answer: Making a passport-size photo online takes five steps, not one: (1) confirm the exact size and head-height spec for your specific country and document type, (2) take the photo with your phone's default beautification settings turned off, (3) upload it to a tool that crops to the correct pixel dimensions for that spec, (4) verify — measure, not just look at — head size, eye position, and background compliance, and (5) export in the file format and size limit your specific portal actually accepts. Most "how to make a passport photo online" guides only cover step three, which is why photos that look right on screen still get rejected.
A US passport photo maker can apply these dimensions and formatting checks to the uploaded photo.
Step 1: Confirm the exact spec before you touch a camera
"Passport size" isn't one size. The US uses 2×2 inches (600×600px at 300 DPI). The UK, all of Schengen, India, and most of the world use 35×45mm (413×531px). Canada uses a unique 50×70mm. Even within one country, the passport photo and the visa photo can differ — China's passport photo is 33×45mm, its visa photo is 33×48mm with a light-blue background instead of white. Pick your destination and document type first. Every step after this depends on getting this one right, and it's the step most people skip because they assume "passport size" is generic.
Step 2: Fix the input before you fix the file
This is the step almost no online tool tells you about, because it happens before you ever open their site: your phone's camera may already be altering your face by default. Samsung phones apply Beauty mode and Scene Optimizer automatically. Google Pixel applies Face Retouching unless it's been turned off. iPhones use Photographic Styles, which changes skin-tone rendering, and Portrait Mode, which blurs the background. None of this is optional unless you go into your camera settings and turn it off first.
This matters more in 2026 than it used to, because passport authorities now actively detect AI-altered photos — including alterations your phone made automatically, which you never manually applied. A photo editing tool downstream can crop and resize the file, but it can't undo skin-smoothing that happened at the moment you pressed the shutter. Fix this at the source: turn off Beauty mode, Scene Optimizer, Face Retouching, or Photographic Styles before you shoot.
Step 3: Crop to the exact pixel target — not an approximate size
Once you have a clean, unaltered photo, upload it to a tool that crops specifically to the pixel dimensions for your country and document type — not a generic "2×2-ish" square. This is where most free tools actually do a reasonable job: auto-detecting your face and cropping to the right aspect ratio is a solved problem, and it's the part of this process that's genuinely easy to get right online.
Step 4: Verify — this is the step that separates a real tool from a cropper
Here's where the workflow usually breaks down. A tool that crops your photo to 600×600 pixels has not confirmed that your head height falls in the required 50–69% range, that your eyes sit in the correct vertical band, or that your background is uniformly lit rather than just "mostly white." Those are measured properties, not visual ones — you can't reliably eyeball whether a background has a faint shadow gradient in one corner, but a passport office's automated system will catch it.
PhotoOmni's validation step measures these specifically — head size, eye position, and a 9-zone analysis of background lighting uniformity — rather than only handling the crop, and it runs before you pay anything, so you find out whether the photo will actually pass before committing to the final download.
Step 5: Export for the format your specific portal wants
The size spec and the upload spec are two different rule sets. A photo can be perfectly sized in millimeters and still get rejected by an online portal for being the wrong file format (many portals reject PNG; almost none accept HEIC, which is what an iPhone saves to by default) or for exceeding a KB limit unrelated to its physical dimensions. Check your specific application portal's file format and size-limit requirements as a separate step from the photo's dimensions — don't assume getting the size right also gets the file spec right.
Why this five-step version matters more than the one-step pitch
"Upload a selfie, get a passport photo" is true, but it's an oversimplified version of what actually has to happen for the result to be accepted. Skipping step 2 (camera defaults) or step 4 (real verification) is exactly how a photo that looks completely normal on screen comes back rejected two weeks later. The five-step version takes maybe ten extra minutes total. A rejection costs you the processing time you've already spent waiting.
FAQ
Can I make a passport photo entirely from my phone? Yes — most current phone cameras have more than enough resolution. The two things to get right are turning off default beautification settings before shooting, and using a tool afterward that measures compliance rather than only cropping.
What's the fastest way to make a passport-size photo online? Confirm your country's exact spec, take the photo with camera beautification settings off, then use a tool that both crops to the correct pixel dimensions and verifies head size, eye position, and background — like PhotoOmni — rather than one that only handles the crop.
Why does my passport photo look fine but still get rejected? Usually one of two things: your phone's default camera processing altered skin texture or added background blur without you realizing it, or the photo was cropped to the right size but never actually measured against the head-size and eye-position spec, which a visual crop tool doesn't check.
Do I need different photos for a passport and a visa to the same country? Sometimes, yes. China is the clearest example — the passport photo and visa photo use different dimensions and different background colors. Always confirm the document type, not just the country, before you finalize a photo.
Country and portal-specific specs change — always confirm current requirements with the issuing authority before submitting.