
How to Take a Passport Photo With iPhone in 2026
Your iPhone can take a compliant passport photo — but default camera settings like Smart HDR and Portrait Mode can silently alter your image. Learn which settings to turn off before you shoot.
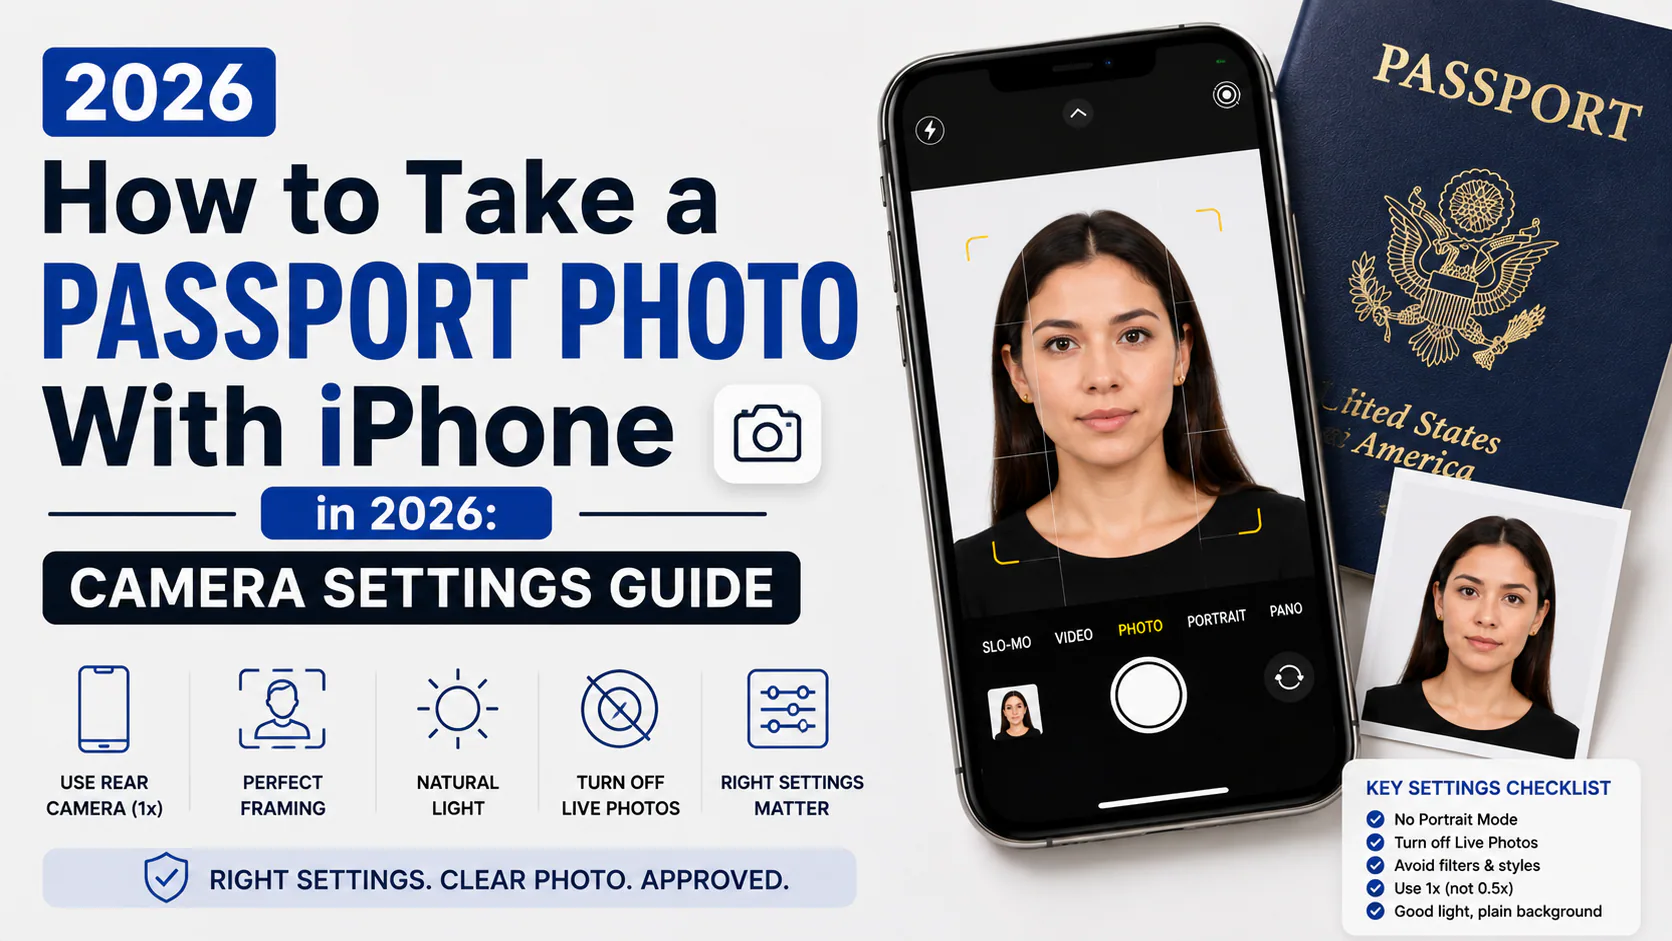
Your iPhone camera is more than capable of producing a compliant passport photo — any iPhone from the 7 onward has plenty of resolution. The problem was never the hardware. It's that modern iPhones process your photo automatically, in ways you often can't see, before you ever look at the result.
That's not a hypothetical risk. In mid-2026, reports surfaced of the State Department's online renewal system (OPR) flagging and rejecting large numbers of genuine, unedited iPhone photos — not because applicants used any editing app, but because features like Smart HDR, Photographic Styles, and Portrait Mode were quietly switched on by default and altered the image without the user realizing it.
In other words: the biggest risk to your passport photo in 2026 isn't a bad photo editor. It's your phone's own camera settings.
Quick Answer
Shoot with your iPhone's rear camera (not the front-facing selfie camera) in standard Photo mode — never Portrait mode. Turn off Live Photos and disable Photographic Styles/Smart HDR-heavy processing where possible; shoot in bright, even daylight instead so the camera doesn't need to compensate. Stand 4–5 feet from the camera (not closer) using the 1x main lens, not the ultra-wide, to avoid facial distortion. Use a tripod, shelf, or a second person to hold the phone — a true selfie angle almost always fails. Face a plain white or off-white wall with soft, even light. Take several shots, then crop and size the best one without applying any filter, retouch, or enhancement — under the 2026 rule, even automatic AI processing counts as an edit.
Why This Guide Focuses on Settings, Not Just Posing
Most iPhone passport photo guides walk through posing and background, then treat the camera settings as an afterthought. That order is backwards in 2026. Posing mistakes get your photo rejected because you did something wrong and can usually tell. Camera-setting mistakes get your photo rejected because your phone did something you didn't ask for — and you often can't tell just by looking at the result.
Turn these off before you shoot
| Setting | Why it matters |
|---|---|
| Portrait Mode | Creates artificial background blur — a digital alteration. Automatic rejection risk. |
| Live Photos | Captures motion frames around the shot; turn off to keep a single clean still. |
| Photographic Styles | Applies tone/color processing beyond a standard capture. |
| Beauty/Smart filters (if enabled via a camera app) | Skin smoothing counts as AI alteration under the 2026 rule. |
| Front (selfie) camera | Lower resolution and a wider-angle lens that distorts facial proportions. |
The HDR question, answered directly
This is the one point where existing guides genuinely disagree — some say leave HDR on, others say it's a risk. Here's the clearest way to think about it: Smart HDR and Deep Fusion are computational photography — the camera captures multiple exposures and blends them algorithmically to build the final image. That's a different thing from a single, clean natural-light exposure.
The practical fix isn't to fight your phone's processing decisions — it's to remove the reason the camera reaches for heavy processing in the first place. Shoot in bright, even daylight. In good light, the difference between HDR on and off becomes negligible because the camera doesn't need to blend multiple exposures to fix a dim or high-contrast scene. In low light, HDR and Night Mode kick in harder — and that's when processing is heaviest. So: rather than hunting for a toggle, control the lighting and the setting question mostly resolves itself.
Distance and Framing: Why Every Guide Gives You a Different Number
You'll find "20 inches" on one site and "4–5 feet" on another. The discrepancy matters, and it's not just inconsistency for its own sake — it comes down to lens physics.
At close range (under 2 feet), even a phone's main lens introduces mild wide-angle distortion — noses appear larger, faces appear rounder than they actually are. This gets worse, not better, on the ultra-wide (0.5x) lens. Standing 4–5 feet away and using the 1x main lens minimizes this effect and is the setup most current guides converge on when distortion is factored in.
Practical setup:
- Prop the phone on a shelf, tripod, or stack of books at eye level — or hand it to another person.
- Stand 4–5 feet back, using the 1x lens (not 0.5x ultra-wide).
- Use the volume button or a 3–10 second timer to fire the shutter without shaking the phone.
- Use the grid overlay: center your face between the vertical lines, keep eyes near the upper horizontal line.
Background and Lighting
- Plain white or off-white wall. A hung white sheet works if you don't have one, but keep it flat and evenly lit — wrinkles cast shadows the automated check can read as noise or texture.
- Face a window for soft daylight. Overcast light through a window is closer to ideal than direct sun, which creates harsh shadows.
- Avoid overhead lighting alone — it casts shadows in the eye sockets and under the nose, one of the most common rejection triggers.
- No flash. Flash creates uneven, harsh lighting and can trigger red-eye correction processing.
For a US passport specifically, resist the temptation to fix an imperfect background in an app afterward. A genuinely plain wall, shot correctly the first time, is safer than any AI background swap under the current no-alteration rule.
Posing Checklist
- Face the camera directly — no head tilt, no turned shoulders
- Neutral expression or a very slight, closed-mouth smile; both eyes open and looking at the lens
- No glasses (unless you have a signed medical exception)
- Nothing covering your hairline, forehead, or face
- Take several shots — burst or repeated captures cost nothing and give you options
After You Shoot: Crop, Don't Edit
Once you have a clean, well-lit shot, the only things left to do are cropping and sizing — not enhancing:
- Final frame: 2×2 in (51×51 mm)
- Head size: 1"–1⅜" (25–35 mm) chin to crown
- For online renewal uploads: check file size and format requirements separately, since digital-upload specs differ from printed-photo specs
A free AI compliance check — like the one built into PhotoOmni — can measure these against your original photo and flag issues (head too large, background not plain, eyes not level) without applying any filter, retouch, or background change. That distinction matters more in 2026 than it used to: a tool that "fixes" your photo by editing it can create the exact problem you were trying to avoid.
FAQ
Do I need a professional camera to take a passport photo? No. Any iPhone from the 7 onward has more than enough resolution. The limiting factor is almost never image quality — it's camera settings and lighting.
Should I use Portrait Mode for a sharper background? No — Portrait Mode's blur effect is a digital alteration and will likely get a US passport photo rejected under the 2026 no-AI-editing rule.
Is HDR safe to use for a passport photo? In good, even daylight, HDR makes little practical difference. The real risk comes from low-light situations that push the camera into heavier computational processing (Night Mode, Deep Fusion). The simplest fix is to shoot in bright daylight rather than worrying about the toggle itself.
Can someone else take the photo, or do I need a tripod? Either works. A second person or a tripod/stable surface both solve the main issue with true selfies: the front camera's wide-angle distortion and awkward arm's-length angle.
Why did my unedited iPhone photo still get flagged? Some 2026 online renewal cases have involved default camera features — Smart HDR, Photographic Styles, or automatic beauty processing — applying changes the user never manually chose. Check your camera settings before shooting rather than assuming an "unedited" photo has no processing applied at all.
Does PhotoOmni edit or enhance my photo when checking it? No — PhotoOmni's free AI check measures your photo against the current requirements (framing, head size, background, lighting) and flags issues without altering your face or background, so the compliance check itself never introduces the kind of processing the 2026 rule prohibits.
Sources: U.S. Department of State, travel.state.gov (Passport Photos guidance, January 2026 AI-editing policy); public reporting on 2026 online passport renewal (OPR) photo-flagging cases. This guide is independent and not affiliated with or endorsed by the U.S. Department of State. Always verify current requirements at travel.state.gov before submitting your application.
How to Crop a Passport Photo on iPhone Without Altering It
If you searched for passport photo size iPhone crop, crop passport photo, or passport photo cropping, keep the distinction clear: cropping changes the frame; it should not change your face, skin, background, or lighting. Start with the original photo, leave a little space around your head and shoulders, and crop only to the required frame. Do not use Portrait mode, filters, retouching, background replacement, or an AI "enhance" button to make it look better.
For a U.S. passport renewal completed online, the application lets you reposition or crop an original image during upload, but it does not allow edited or AI-altered photos. For a U.S. visa or paper workflow, the Department of State's free Photo Tool can resize, rotate, and crop an existing image to 600 × 600 pixels; it does not assess image quality or make the final acceptance decision. See the State Department's digital-image guidance before submitting.
Create Your Passport Photo Now
About the Author
Emma Richardson Senior ICAO Photo Compliance Expert, PhotoOmni
Emma Richardson is the Senior ICAO Photo Compliance Expert at PhotoOmni. With 12+ years of experience in passport and visa photo verification, she has helped applicants achieve 820,000+ successful photo approvals across 100+ countries and territories. She specializes in global passport photo requirements, ICAO-compliant photo standards, and biometric image verification.
Related Articles
- [How to take a passport photo at home (2026 Guide)](/blog/how-to-take-a-passport-photo-at-home-2026-guide)
- Passport Photo Requirements: The Complete 2026 Guide
- Why Was My Passport Photo Rejected? 15 Common Reasons & Fixes