
Passport Photo Printing Size: Paper, DPI, Layout and Print Settings
Print a U.S. passport photo at exactly 2×2 inches (51×51mm), at 300 DPI, on genuine photo-quality paper — either matte or glossy is accepted, but standard printer paper is not.
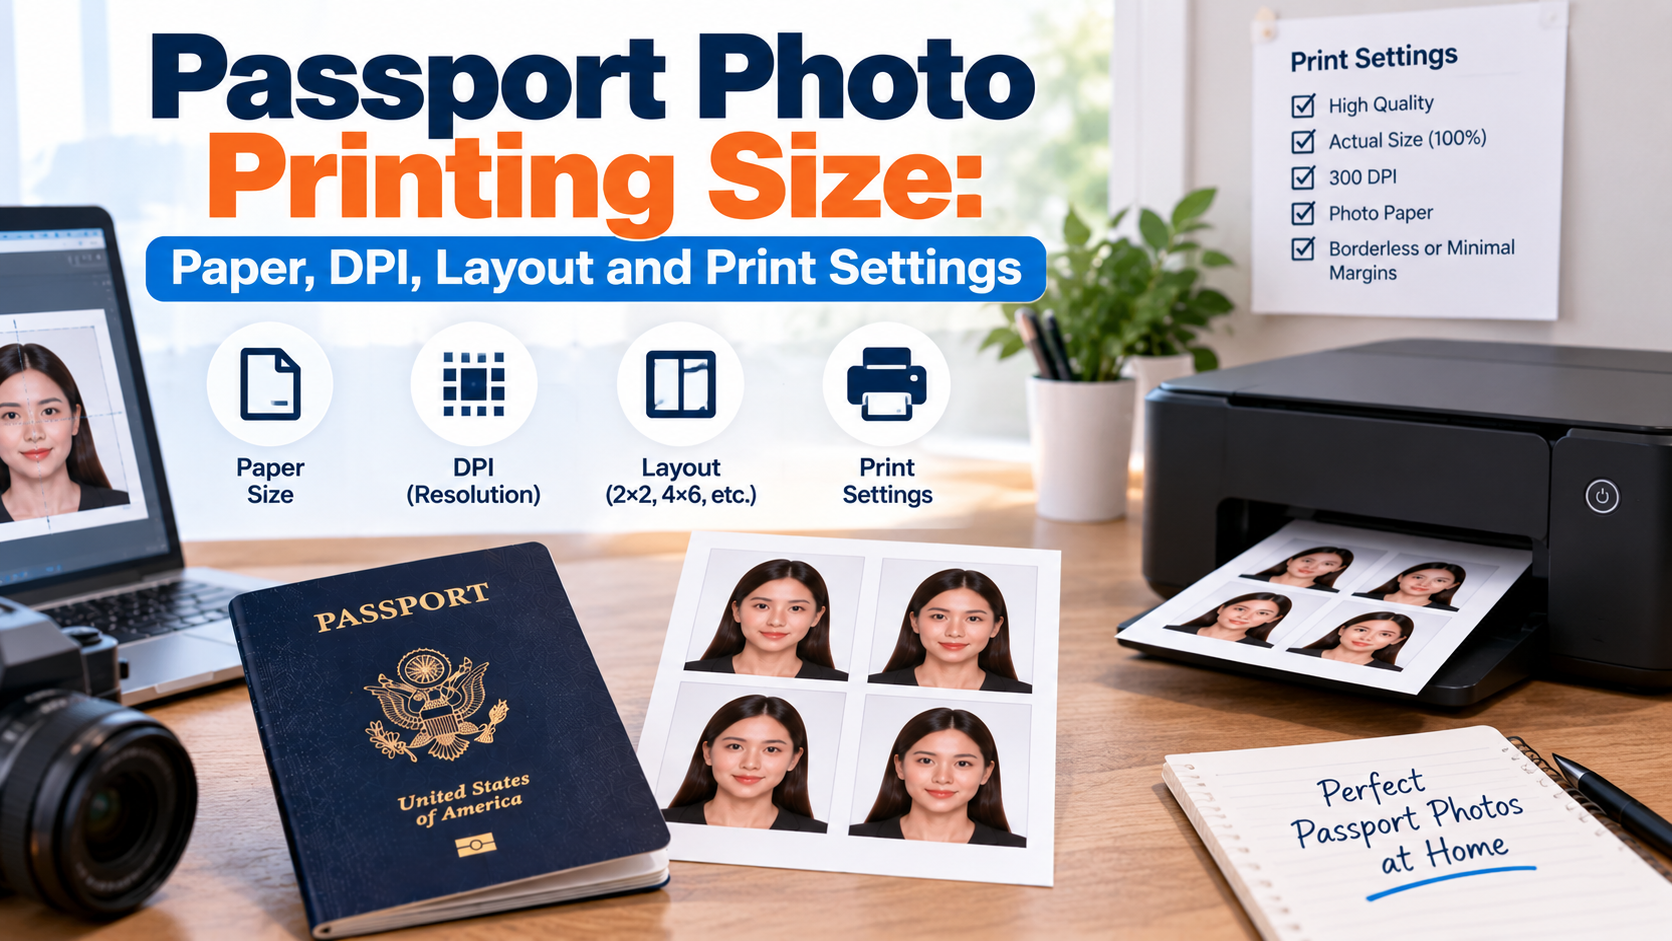
Quick answer: Print a U.S. passport photo at exactly 2×2 inches (51×51mm), at 300 DPI, on genuine photo-quality paper — either matte or glossy is accepted, but standard printer paper is not. If you're printing at home, the most common mistake isn't the photo itself, but the print settings: printing "actual size" or "100%" rather than letting your printer auto-scale the image, using the correct paper size in your printer driver, and disabling any "fit to page" or borderless auto-crop setting that can silently resize the final print.
Why Printing Trips People Up More Than the Photo Itself
Most passport photo guidance focuses heavily on what's in the photo — background, expression, framing. Far less is written about what happens between having a correctly sized digital file and ending up with an actual correctly sized physical print, which is where a surprising number of at-home print attempts go wrong. A perfectly compliant 2×2 inch digital photo can print at the wrong physical size if the print settings aren't handled correctly, and the resulting print will fail even though the source file was fine.
DPI: What It Actually Means for Your Print
DPI (dots per inch) determines how much image detail is packed into each inch of the physical print. For a 2×2 inch U.S. passport photo, 300 DPI is the standard reference resolution — at that setting, your digital file needs to be roughly 600×600 pixels to print sharp at the correct physical size. A file with fewer pixels stretched to fill 2×2 inches at print time will look soft, blurry, or pixelated even if it looked fine on screen — screens display at a much lower effective resolution than a passport photo printer requires.
Paper: Matte, Glossy, and What Actually Matters
Both matte and glossy finishes are explicitly accepted for U.S. passport photos — there's no rule preferring one over the other. What does matter:
- Genuine photo paper, not standard printer paper. Passport photos need to be on true photographic paper — commonly specified around 200 GSM or heavier — not the lightweight paper used for everyday printing.
- Undamaged, uncreased, and glare-free. Whichever finish you choose, the physical print needs to be free of scratches, fingerprints, creases, or visible glare when inspected under normal light.
- Consistent color reproduction. Cheap or old ink cartridges can shift color rendering enough to misrepresent skin tone, which becomes a compliance issue separate from the paper itself.
Print Layout: The 4×6 Template Trick
Since a standard 4×6 inch photo print is a common, cheap size at nearly every pharmacy and print shop, arranging four 2×2 inch passport photos on a single 4×6 template — rather than printing one photo at a time — is both faster and significantly cheaper. Many free templates and tools generate this layout automatically; the key is making sure each individual 2×2 inch photo within the template is still correctly sized and cropped, since an error in the template layout affects all four copies at once.
Getting Print Settings Right at Home or at a Kiosk
- Set the print size explicitly to 2×2 inches (or the 4×6 template size) rather than letting the printer auto-scale to fill the page
- Disable "fit to page" or borderless auto-crop settings, which can resize or crop your image without you noticing
- Confirm the printer's DPI/resolution setting is at least 300 DPI for a sharp result at the correct physical size
- Use "actual size" or "100%" scaling in the print dialog rather than a percentage-based scale, which can introduce rounding errors at small sizes
- Print a test copy first if using a home printer, and measure it with a ruler before printing the final batch
Digital Photos Still Need Correct "Print" Specs Even If You Never Print Them
If your application accepts a digital upload rather than a physical print, you might assume DPI and print sizing don't apply — but most digital upload systems still specify an equivalent resolution requirement (commonly 600×600 to 1200×1200 pixels for the U.S.), which is directly derived from the same 300 DPI standard used for physical prints. A photo prepared correctly for print will generally also meet digital upload resolution requirements, but the reverse isn't always true if the digital file was compressed for web use rather than print use.
Skipping the Print-Setting Guesswork
Since so many print-related rejections come from settings issues rather than the photo itself — wrong scaling, borderless auto-crop, incorrect DPI — using a tool that generates a print-ready file at the exact correct dimensions and resolution removes that risk entirely. PhotoOmni produces properly sized, print-ready output (including 4×6 template layouts) at the correct DPI for your destination country, so the file itself, not your printer's default settings, determines the final print size.
FAQ
Can I print my passport photo at home instead of at a store? Yes, provided you use genuine photo paper, print at 300 DPI, and set the exact 2×2 inch size manually rather than relying on default auto-scaling — home printing carries a higher risk of sizing errors than a store's dedicated photo printer.
Does glossy paper look more "official" than matte? No — both are equally accepted, and there's no official preference for either finish; the choice is purely about personal preference and print handling (matte shows fewer fingerprints).
What happens if my printed photo comes out slightly larger or smaller than 2×2 inches? Even a small deviation from the exact required size can cause rejection — measure the printed photo with a ruler before submitting, and reprint with corrected settings if it's off.
Do I need special printer ink for passport photos? Standard photo-quality ink (the kind most home photo printers use by default) is generally sufficient, as long as color reproduction is accurate and consistent — cheap or low ink cartridges are the more common issue, not the ink type itself.
Bottom Line
Getting the printing side of a passport photo right is a separate skill from getting the photo content right — DPI, paper type, and print scaling settings all need to be correct independently of how good the underlying photo is. A tool like PhotoOmni that outputs a correctly sized, print-ready file at 300 DPI removes most of the guesswork, whether you're printing at home or handing the file to a pharmacy print counter.