
How to Resize a Photo on iPhone: Crop, Resize to Exact Pixels or Shrink the File
Resize an iPhone photo with Photos and Shortcuts. Set exact pixels, save a new copy and distinguish cropping from file compression.
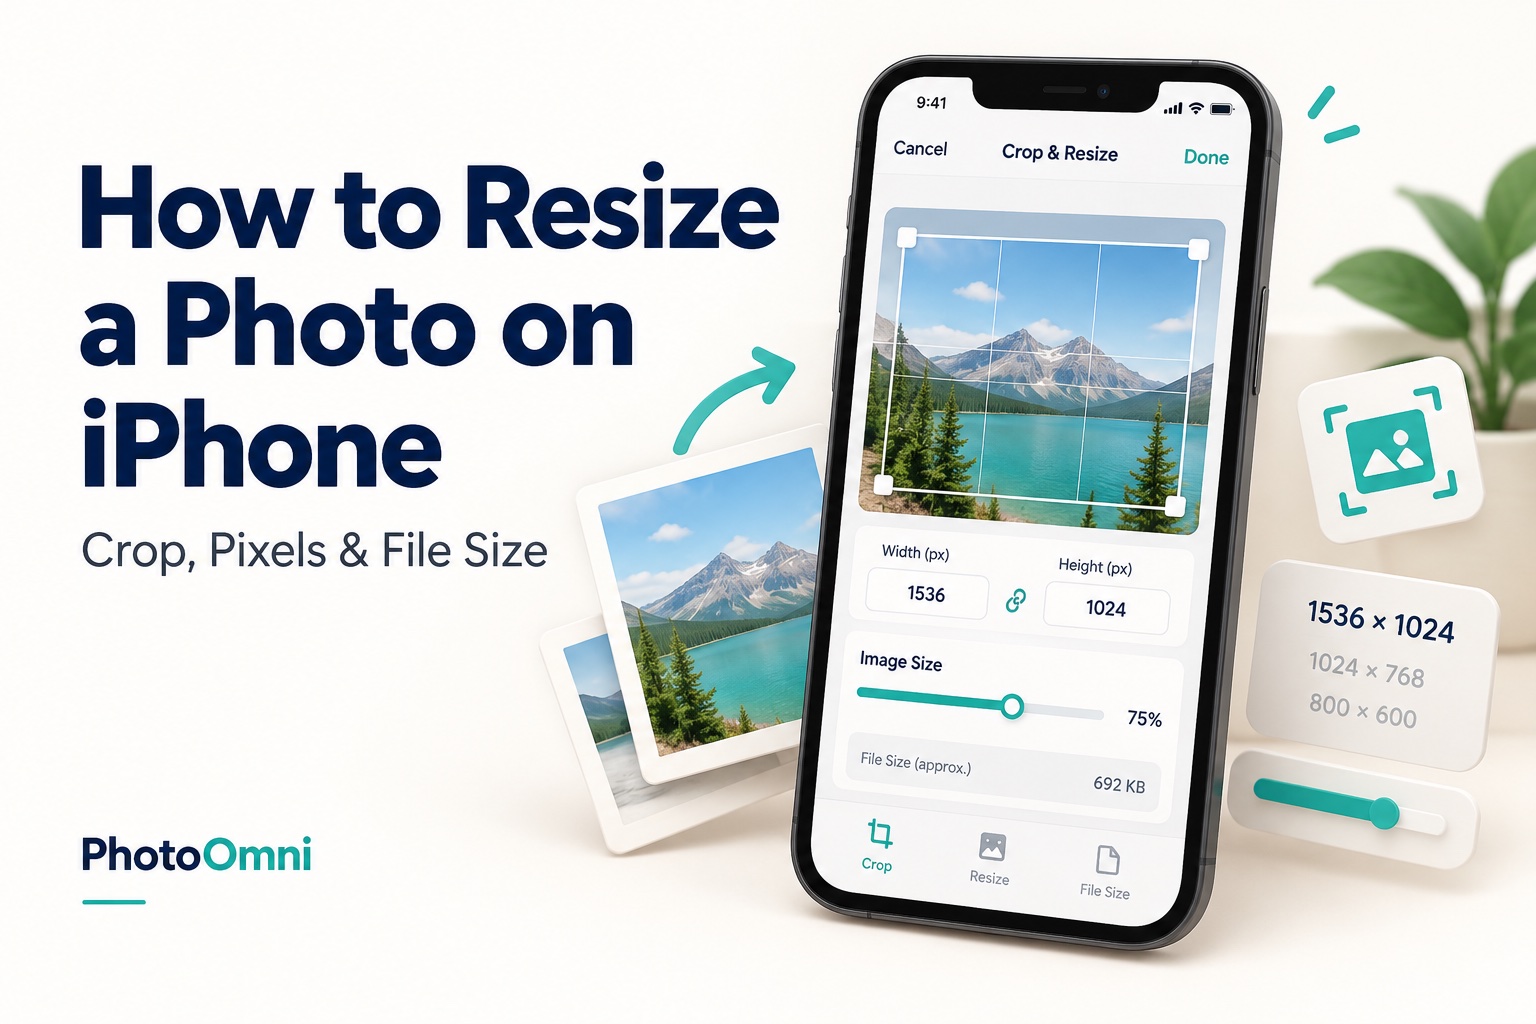
Quick Answer
"Resize" can mean three different things on an iPhone, and each has a different fix.
| You want to... | Use this | Built in? |
|---|---|---|
| Change the shape (square, 4:5, 16:9) or cut out part of the picture | Crop in the Photos app | Yes |
| Set exact pixel dimensions (for example 1200 x 1200) | Shortcuts app, "Resize Image" action | Yes, but you set it up once |
| Make the file smaller in MB or KB | Resize with Shortcuts, convert to JPEG, or use a compression app | Partly |
The built-in Photos app can crop but can't type in a pixel size. For exact dimensions, the usual route is to crop to the right shape first, then resize with a Shortcut. For an ID, visa or passport, first check the application’s rules. UK own-device uploads must remain uncropped, and U.S. online passport renewal lets you crop inside its application. Use the crop-then-resize workflow below only where the destination permits it.
Menu names and options vary between iOS versions, and Apple changes the Photos and Shortcuts interfaces from time to time. If a step looks different on your phone, look for the closest option, or search for your iOS version's instructions on Apple Support.
Step 0: Decide What "Resize" Means for Your Task
Many guides use "resize" for several different jobs and mix up the fixes. Sort out which one you need first.
| Term | What changes | What it's for | Example |
|---|---|---|---|
| Crop / change aspect ratio | Which part of the picture is kept, and its shape | Social posts, profile pictures, removing clutter | Turn a 4:3 photo into a square |
| Resize (change dimensions) | The pixel width and height | Uploads that ask for a pixel size, web use | 4032 x 3024 down to 1200 x 900 |
| Compress (reduce file size) | The size in KB or MB, often by lowering quality or changing format | Email limits, upload limits | Under 240 KB, or under 2 MB |
| Enlarge (upscale) | Pixel dimensions get bigger | Rarely a good idea | Making a small photo fit a larger frame |
Two practical points:
- Cropping and resizing are different. Cropping removes part of the picture, which also lowers the pixel count. Resizing keeps the whole picture and changes its pixel dimensions.
- Making a photo bigger does not add detail. Enlarging a small photo only stretches the pixels and makes it look soft. Start from the largest original you have.
Check Your Photo's Current Size First
Before changing anything, find out what you have.
- Open the photo in the Photos app.
- Swipe up on the photo, or tap the info (i) button, to see its details. On recent iOS versions this includes the file name, file size and pixel dimensions.
- Write down the dimensions (for example 4032 x 3024) and the file size.
As a reference, a typical iPhone photo at 12 megapixels is around 4032 x 3024 pixels. Newer iPhones with a higher-resolution camera can save larger photos in some modes, so your numbers may differ.
Method 1: Crop a Photo to a New Size or Shape in the Photos App
Use this when you want a different shape, not exact pixels.
- Open the photo in Photos and tap Edit.
- Tap the Crop tool.
- Drag the corners of the frame to choose what to keep. You can also pinch to zoom or drag the photo underneath.
- For a standard shape, tap the aspect ratio button and choose a preset, such as Square, 4:3, 16:9 or others. Choose Freeform for any shape.
- Tap Done to save.
Good to know
- Cropping in the Photos app is non-destructive. You can reopen Edit and choose Revert to get the original back.
- Cropping reduces the pixel dimensions, because you keep only part of the picture, but you can't set an exact pixel number here.
- If you want to keep an uncropped copy, duplicate the photo first (open the More menu and choose Duplicate; menu placement varies by iOS version).
Method 2: Resize to Exact Pixel Dimensions With the Shortcuts App
The Shortcuts app is a built-in way to change a photo's actual pixel dimensions. Create a shortcut that receives a photo, resizes it, and explicitly saves the output.
Create a basic resize shortcut
- Open Shortcuts, tap +, and add Select Photos.
- Add Resize Image after it. Set one dimension and leave the other automatic to preserve proportions.
- Add Save to Photo Album, using the resized image as its input. Without a save action, Resize Image alone does not save a new photo.
- Name the shortcut, run it, select a photo and allow Photos access when prompted.
- Open the newly saved copy in Photos and check its dimensions. The source remains unchanged with this workflow.
- Optionally enable Show in Share Sheet, accept Images, and feed Shortcut Input into Resize Image instead of Select Photos to run it directly from Photos’ Share menu.
Get an exact width and height without stretching
The Resize Image action works best when you set one side and let the other follow, so the picture isn't distorted. If you set both a width and a height that don't match the photo's proportions, the picture may be squeezed or stretched. To hit an exact width and height cleanly, use two steps:
- Crop to the right proportions first. For a square target, crop to a 1:1 square in Photos. For a permitted 35 × 45 mm print workflow, the ratio is 7:9. This is not an instruction to crop a UK online own-device photo.
- Then resize to the exact pixel size, setting just one side (for example, width 1200) so the other side follows.
Worked example: square photo for an upload
A photo is 4032 x 3024 pixels. You need a 1200 x 1200 square.
| Step | Action | Result |
|---|---|---|
| 1 | Crop to a square in Photos | 3024 x 3024 pixels |
| 2 | Run a Resize Image shortcut with width 1200 | 1200 x 1200 pixels |
| 3 | Check the photo's info | 1200 x 1200 pixels |
The final photo is about 40% of the cropped square's width (1200 ÷ 3024), so it keeps its proportions.
Optional: add a convert step
Shortcuts also includes an action for converting an image to a particular format, such as JPEG. This is helpful when a website won't accept the iPhone's default format (see the HEIC section below).
Method 3: Reduce File Size With a JPEG Export
For general uploads, use Select Photos → Convert Image (JPEG) → Save to Photo Album in Shortcuts. Expand Convert Image to adjust quality where available. Check the output size after saving; there is no universal quality setting that guarantees a particular KB target.
Converting HEIC to JPEG can make the file larger. If necessary, add Resize Image before conversion, provided the destination permits resizing and the result stays above its pixel minimum. For passport uploads, keep the accepted original whenever possible. See how to compress a photo.
Method 4: Convert HEIC to JPEG So Uploads Work
iPhones save photos in the HEIC (high-efficiency) format by default. Some websites, forms and older software don't accept it, and a "wrong file type" error is often mistaken for a size problem.
Two ways to deal with it:
- Convert after the fact: use the Shortcuts "Convert Image" action to turn photos into JPEG.
- Shoot in a more compatible format: in Settings > Camera > Formats, choose Most Compatible so new photos are saved as JPEG. This is a setting for future photos and doesn't change old ones.
Switching formats can change file size, so check the size again afterwards.
Method 5: Use a Third-Party App or Website
If Shortcuts feels fiddly, a dedicated image editor can offer explicit pixel and quality controls. Check its current features and privacy policy before choosing it. Be careful with free tools:
- Check what you're uploading. A photo of your face or an ID is personal data. Prefer tools whose privacy policy you've read.
- Avoid tools that add watermarks or recompress heavily.
- Don't let an app apply filters or beautify a photo you need for an official use.
Common Sizes in Pixels (A Handy Conversion Table)
Pixels = inches x DPI (dots per inch). Printing at 300 DPI is a common standard, and websites often ask for a pixel size directly.
| Use | Physical size | At 300 DPI (pixels) |
|---|---|---|
| U.S. passport photo, printed | 2 x 2 inches | 600 x 600 |
| 35 x 45 mm photo (used by many countries and visas) | 35 x 45 mm | about 413 x 531 |
| 4x6 photo print | 4 x 6 inches | 1200 x 1800 |
| 5x7 photo print | 5 x 7 inches | 1500 x 2100 |
For U.S. online passport renewal, the State Department lists JPG, JPEG, PNG, HEIC or HEIF and a 54 KB–10 MB range; crop or reposition inside the application. The 600–1200 square pixels and maximum 240 KB specification belongs to U.S. visa digital images. For UK online passport photos, keep at least 600 × 750 pixels and 50 KB–10 MB, and do not crop an own-device photo.
Photo specs for IDs, visas and passports also cover head size, background and expression, so resizing alone doesn't make a photo compliant. See our guide to US passport photo requirements.
Troubleshooting: Why Your Resize Didn't Work
| Problem | Likely cause | Fix |
|---|---|---|
| The website says the photo is too large | File size (KB or MB), not pixel dimensions, is the limit | Resize to fewer pixels, convert to JPEG, or use a compression app, then check the file size |
| The website says the wrong file type | HEIC format | Convert to JPEG with Shortcuts, or set Camera format to Most Compatible |
| The photo looks stretched or squashed | Both width and height were set to a different shape from the original | Crop to the target shape first, then resize with one side set |
| The photo looks blurry or soft | The photo was enlarged, or over-compressed | Start from the original and never enlarge a small photo |
| The photo is sideways after uploading | Orientation information isn't read by the site | Rotate in Photos, then re-save or re-export |
| I can't find the resized photo | The shortcut has no save action, or the wrong output is saved | Add Save to Photo Album after Resize Image and pass it the resized output |
| I want to undo a crop | Cropping is non-destructive in Photos | Tap Edit and Revert |
| The size changed but quality dropped | Compression or JPEG conversion | Use a higher quality setting, or start from the original |
Common Mistakes
- Using crop when you need an exact pixel size
- Setting both width and height to a different shape and distorting the photo
- Enlarging a small photo and expecting it to look sharp
- Confusing pixel dimensions with file size
- Overwriting the original instead of saving a copy
- Resizing multiple times, which can reduce quality each time
- Ignoring the file type and being blocked by HEIC
- Letting a free app apply filters or edits to a photo that must be unaltered
- Resizing an ID or passport photo without checking the rules for head size and background
Checklist: Resizing a Photo on iPhone
- I know whether I need a crop, an exact pixel size, or a smaller file
- I checked the photo's current dimensions and file size
- I kept a copy of the original
- I cropped to the right proportions only if the destination permits cropping
- I resized with one side set, so nothing is stretched
- I checked the final dimensions and file size in the photo's info
- I converted to JPEG if the site needs it
- For an official photo, I checked the specific requirements
Frequently Asked Questions
How do I resize a photo on my iPhone?
Crop it in the Photos app to change its shape, or use the Shortcuts app's Resize Image action to set exact pixel dimensions. To reduce file size, resize with Shortcuts, convert to JPEG or use a compression app.
Can I resize a photo to exact pixels in the Photos app?
No. The Photos app lets you crop and choose aspect ratios, but it doesn't let you type a pixel size. Use the Shortcuts app for that.
How do I make a picture smaller in KB or MB on iPhone?
Reduce its pixel dimensions with a Shortcuts resize, convert it to JPEG, or use a compression app. Check the file size in the photo's info afterwards.
Does cropping reduce the file size?
It usually reduces the pixel count and often the file size, but it isn't designed for hitting a specific size. Resize or compress if you need a file-size target.
Does resizing a photo reduce quality?
Making a photo smaller loses detail you won't get back, but a well-resized photo looks fine at its new size. Making a small photo larger makes it look soft. Keep your original.
How do I find a photo's size on iPhone?
Open the photo in Photos and swipe up or tap the info button to see the file size and dimensions on recent iOS versions.
Why is my iPhone photo rejected by a website?
Usually because of file size, the HEIC format, or the wrong pixel dimensions. Check the site's requirements, then convert or resize.
How do I resize a photo for a passport or ID?
Check the document and application channel first. UK own-device photos must remain uncropped; U.S. online renewal provides its own crop tool. Only crop or resize externally when the destination permits it, then check head size, background and file limits.
Is the original photo changed when I use Shortcuts?
With Select Photos → Resize Image → Save to Photo Album, the output is saved as a separate photo. Resize Image alone does not save anything; include the save action and check the output.
Do I need a third-party app?
Not necessarily. Photos and Shortcuts cover cropping and resizing. Third-party apps can be more convenient, but choose them carefully when the photo is personal.
Bottom Line
To resize a photo on iPhone, first decide whether you need a new shape, exact pixels or a smaller file. Crop in Photos for shape, use a Shortcuts Resize Image action for exact pixels, crop first so nothing is stretched, and check the result in the photo's info. If the photo is for a passport, visa or ID, pixel size is only part of the requirements. PhotoOmni (photoomni.com) can help you resize a photo to the official size and check the framing, head position and background before you submit it.
Sources
- U.S. passport online renewal: digital photo
- GOV.UK: digital passport photos
- U.S. visa: digital image requirements
- Apple: image formats
- Apple: run a shortcut from another app
Related Articles
- How to Compress a Photo for Online Upload (Without Breaking Passport Photo Rules)
- Bulk Photo Resizer: How to Resize Photos in Bulk Online (and Why Passport Photos Need Care)
- How to Convert a Photo to JPG (and When You Don't Need To): Passport Photo Guide
About the Author
PhotoOmni Editorial Team publishes guides to passport and visa photo requirements, digital image preparation and printing. PhotoOmni also offers paid photo services; this guide is published by PhotoOmni. Always follow the issuing authority’s current instructions.