
Indian Passport Renewal in the USA: Jurisdiction, Documents & New York Guide
Renew an Indian passport in the United States: choose the correct jurisdiction, prepare documents, and follow the VFS process, including New York.
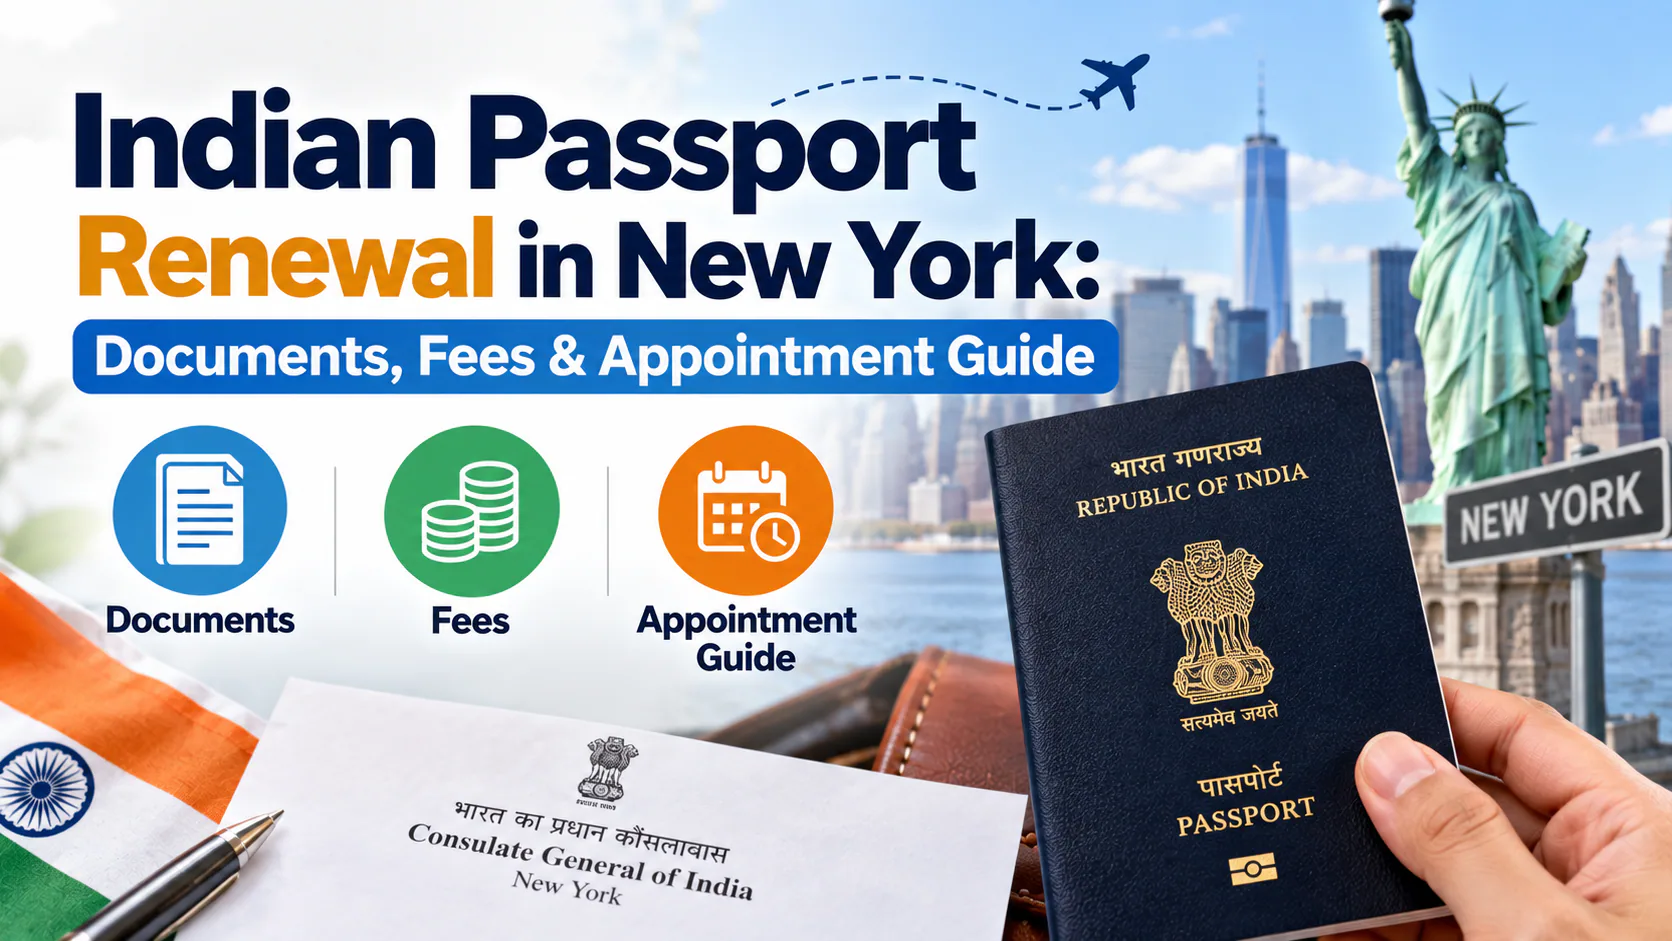
Quick answer: Indian citizens in the New York consular jurisdiction renew their passports through VFS Global, the official outsourcing partner for the Consulate General of India, New York — not BLS International, which handles Indian passport services in other countries. You start the application on the Government of India's Passport Seva online portal, then submit the printed form, your current passport, and supporting documents either by mail or in person at the VFS center, along with the applicable fee. Standard processing typically runs several weeks; Tatkal (expedited) service is faster but requires additional documentation and a higher fee.
Why "BLS" and "CKGS" Confuse People Searching for This
If you search around, you'll see older forum posts mentioning CKGS and other guides referencing BLS International. Here's the timeline that matters: CKGS was the Indian passport/visa outsourcing partner in the U.S. until late 2020, when the contract moved to VFS Global. BLS International is a similar outsourcing company, but it handles Indian consular services in countries like Canada, the UAE, and the UK — not the United States. For New York specifically, VFS Global is the only authorized service provider as of 2026.
Indian Passport Renewal in the United States: Choose the Correct Jurisdiction
To renew an Indian passport from the U.S., first identify the mission for your current residential address, then select the corresponding mission in the government application and VFS workflow. You cannot simply choose whichever center is closest.
Use the official directory of Indian missions in the U.S. and the current VFS U.S. passport application service. The directory includes Washington, D.C., New York, Atlanta, Chicago, Houston, San Francisco, Seattle, Boston and Los Angeles. Consular offices and VFS submission centers are not interchangeable.
| Where to start | What to check |
|---|---|
| New York and the Northeast | Verify your state in the current New York/Boston routing; do not rely on older Northeast lists |
| Washington, D.C., Southeast or Midwest | Check Washington, Atlanta or Chicago's residential jurisdiction |
| Texas and surrounding states | Check Houston's current jurisdiction |
| Western states | Check San Francisco, Seattle or Los Angeles, including any California county split |
The published directory and VFS overview contain some overlapping or older state assignments. Before generating a courier label, confirm the current passport-service routing for your state and county. If the government portal and VFS offer different missions, contact the relevant mission or VFS before paying or mailing; do not enter a false address to force a selection.
The Nationwide Application Sequence
Start at the VFS passport-service page and follow its government-portal link; missions have announced migration to Global Passport Seva Portal 2.0. Select re-issue of passport, complete the applicable form, and keep your application reference number. Follow the generated print, signature, document, payment and courier instructions. Online completion alone does not finish the physical VFS submission.
For tracking, distinguish VFS receipt and dispatch tracking from the mission's processing of the passport. Use the reference numbers requested by each service.
Who Falls Under the New York Consular Jurisdiction
For New York applicants, confirm the mission and VFS center using the current state-based routing before starting. The nationwide procedure above also applies to residents outside New York; document and submission requirements must match their own mission.
Step-by-Step: Renewing in New York
- Fill out the online form on the Passport Seva portal for the Ministry of External Affairs, selecting "Re-issue of Passport" as your service.
- Follow the selected application’s document and photo requirements. Prepare digital uploads and printed photographs only in the formats currently requested.
- Print and sign the generated application form.
- Submit through VFS Global using the courier or appointment options currently offered for your residential jurisdiction.
- Pay the applicable fee, which varies by booklet size (36 vs. 60 pages), validity, and processing speed (normal vs. Tatkal).
- Track your application through the VFS/consulate portal until your new passport is dispatched back to you.
Documents You'll Typically Need
- Current (or most recently expired) Indian passport, original
- Proof of legal status in the U.S. (visa, green card, EAD, or similar)
- Passport-size photo meeting Indian passport specifications (2x2 inches, plain light background)
- Current address proof required by the applicable checklist
- Supporting documents for name or other personal-detail changes, as required by the checklist
- For minors: both parents' passports, the child's birth certificate, and parental consent documentation
A Detail Most Guides Skip: The Photo Spec Mismatch
Indian passport photos have their own formatting rules that differ from a standard U.S. passport photo — background tone, head size ratio, and file requirements for the digital upload can all trip up applicants who reuse an old U.S. passport photo. Tools like PhotoOmni generate a compliant photo from a selfie and run it through both an automated check and a human reviewer, which is useful specifically because it catches formatting mismatches before they turn into a rejected upload on the Passport Seva portal.
Processing Time and Fees
Processing time depends on the service tier:
- Normal renewal: typically several weeks from the date VFS forwards your application to the consulate — not from the date you mailed it, so factor in transit time separately.
- Tatkal (expedited): subject to separate eligibility and document rules. Check the current mission estimate; police verification or additional-document requests can affect timing.
- Fees vary by passport category, booklet size and normal or Tatkal service. Add the applicable VFS and courier charges; OCI is a separate service.
Because pricing changes periodically, always confirm the current fee schedule on the VFS Global India Passport Services USA portal or the Consulate General of India, New York website before submitting payment.
Common Mistakes That Delay a New York Renewal
- Submitting to VFS under the wrong state jurisdiction
- Uploading a passport photo that doesn't meet the Indian government's specific ICAO-style requirements
- Leaving out a name-change document (marriage certificate, court order) when your current name differs from your old passport
- Forgetting a self-addressed, prepaid return envelope for mail-in submissions
- Assuming BLS handles U.S. applications — it doesn't; only VFS Global does
Getting the online form, supporting documents, and PhotoOmni-style compliant photo right before you ever set foot in — or mail anything to — the VFS center is the most reliable way to avoid a second round trip on an Indian passport renewal in New York.
Documents to Upload for Indian Passport Renewal in the USA
Prepare the documents to upload for Indian passport renewal in the USA from the checklist for your consular jurisdiction and service category. Do not treat one applicant's list as universal: a routine reissue, a lost passport, a name change and a minor's application can require different evidence. The checklist also determines which items are uploaded and which originals or copies must be submitted separately.
Build an upload checklist before scanning
| Document group to check | What to confirm in your application instructions |
|---|---|
| Current passport | Which identity, observation or other pages are requested; whether each item belongs in a separate file |
| U.S. immigration status | Which evidence applies to your status and how to handle any requested supplementary evidence |
| Address evidence | Which address must be supported and which documents the receiving office accepts |
| Case-specific documents | Whether a name change, lost passport, minor application or another circumstance requires additional evidence |
| Photograph and signature | Whether these use dedicated image fields rather than the supporting-document uploader |
This is an organization checklist, not a replacement for the official document list. Start with the VFS U.S. Indian passport service page, select your case, and follow the government application instructions linked from that route.
Keep files readable and attached to the correct field
Scan the requested pages in the order specified. Include both sides only when requested, keep all required edges and text visible, and avoid glare or fingers covering information. Use each uploader's displayed format, page and size limits. A portrait JPG and a supporting-document PDF serve different purposes; renaming one extension to the other does not convert the file.
Use filenames that identify the document without exposing the full passport number. Check whether self-attestation or a signature is required before scanning. After upload, open each saved preview and compare it with the corresponding checklist item. Keep the originals and the final submission checklist available: a successful digital upload does not establish that an original or paper copy is no longer required.
For the separate image-upload step, follow the Indian passport renewal photo upload walkthrough.
About the Author
PhotoOmni Editorial Team
The PhotoOmni Editorial Team researches official passport, visa, immigration, and identity-photo requirements. Every guide is reviewed for practical accuracy and updated when application rules, upload specifications, or government guidance change.